Speed, security and privacy
Brave under macOS
 The browser is available for different platforms (iOS, iPadOS, Linux, macOS and Windows). Here we look at the settings under Apple macOS.
To access pages with the Brave that require "client authentication" with a certificate, a corresponding certificate must be imported. In the example we want to access the URL "https://vc.edv-workshops.com" (the address does not exist).
If you have not imported a certificate, the error message "400 Bad Request - No requirred SSL certificate was sent" or "403 Forbidden" will appear when the address is accessed.

Import Client Certificate
A certificate comes in the form of a *.p12 file, which you receive from the provider of the respective service, including a password, e.g. by e-mail. Save the file to any location (in the example, the file with the name "CERT_pattern_karl_v2.p12" is located in the "Downloads" folder).

The Brave uses Apple Keychain Management to manage certificates. Therefore the certificate will import into the macOS keychain. To do this, double click on the certificate (p12 file).
You will be asked to enter the password.
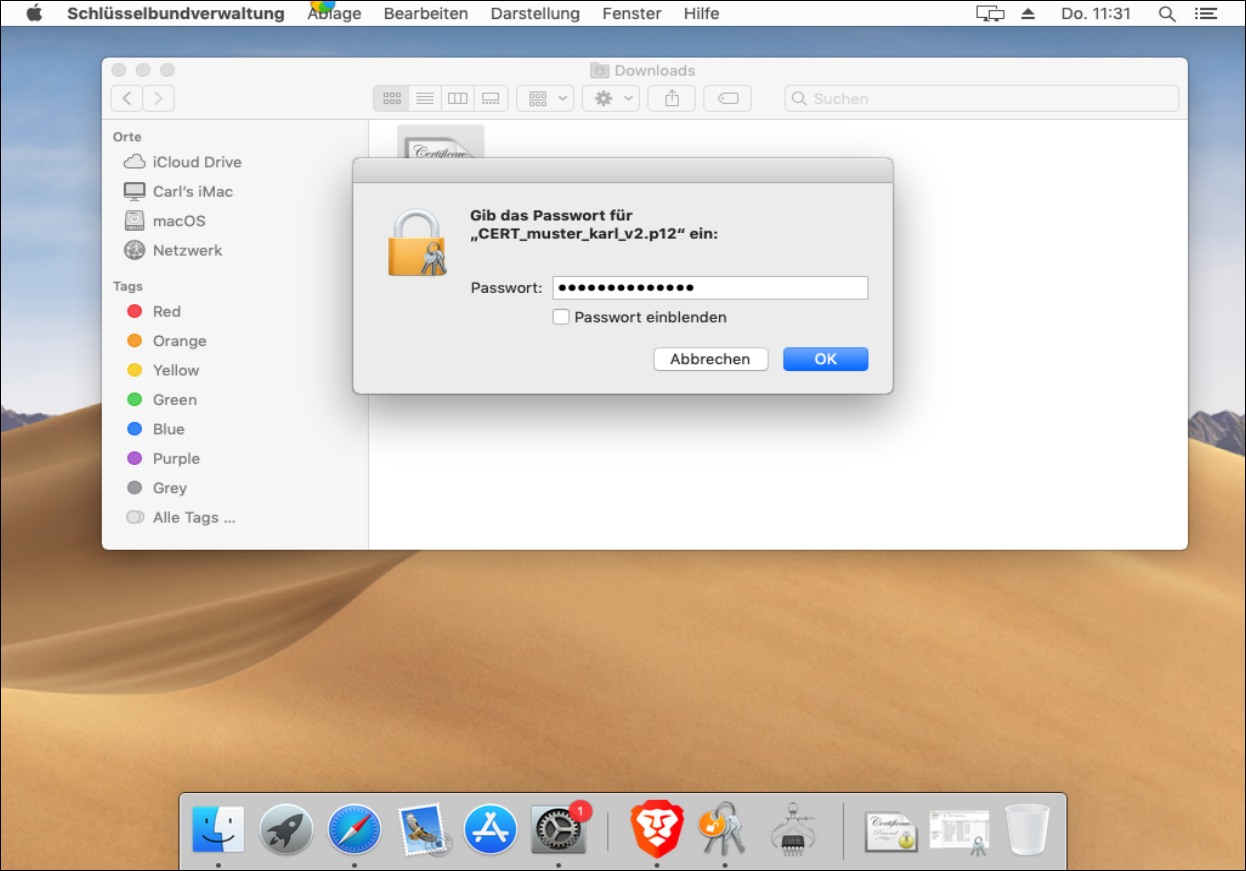
After you have entered the password, click OK.
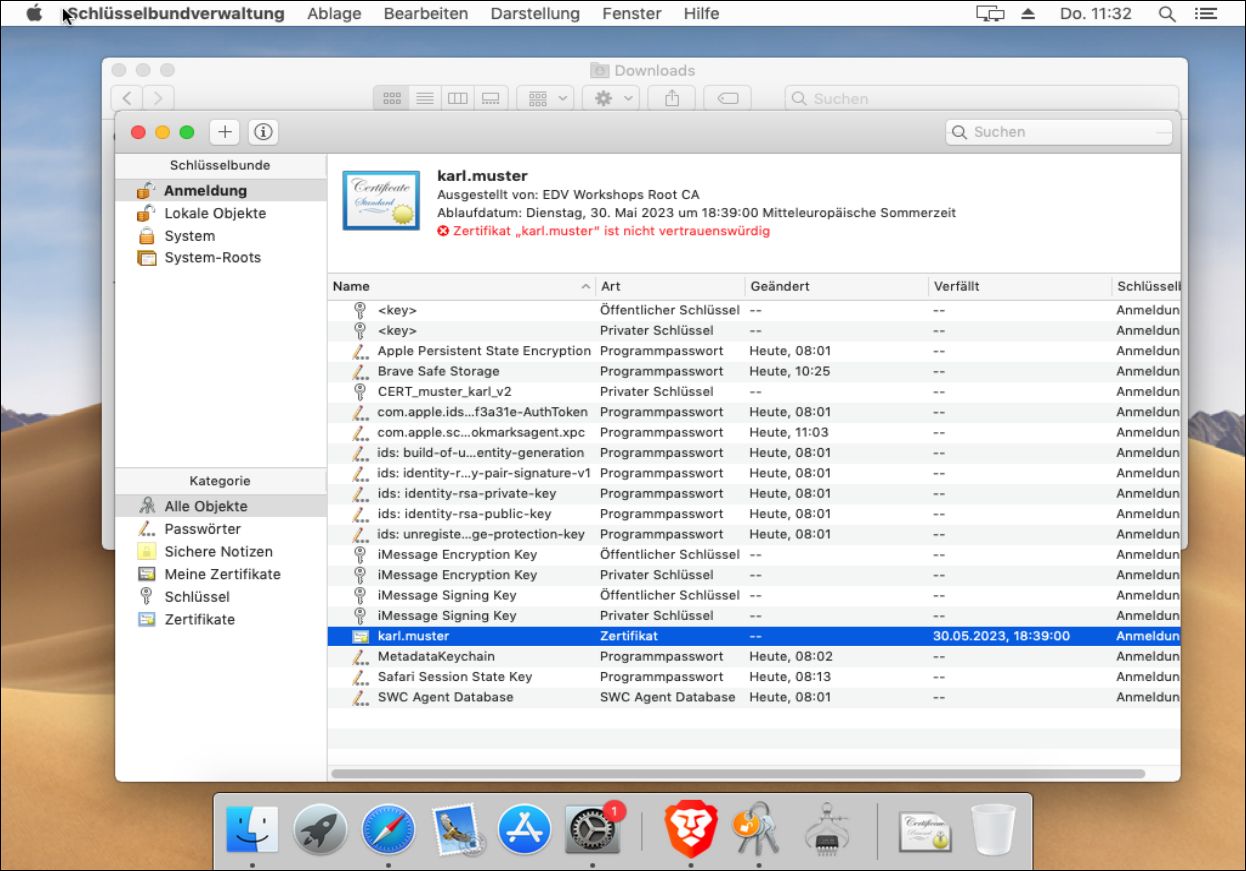
The certificate is now in your keychain.
Calling the page (with installed certificate)
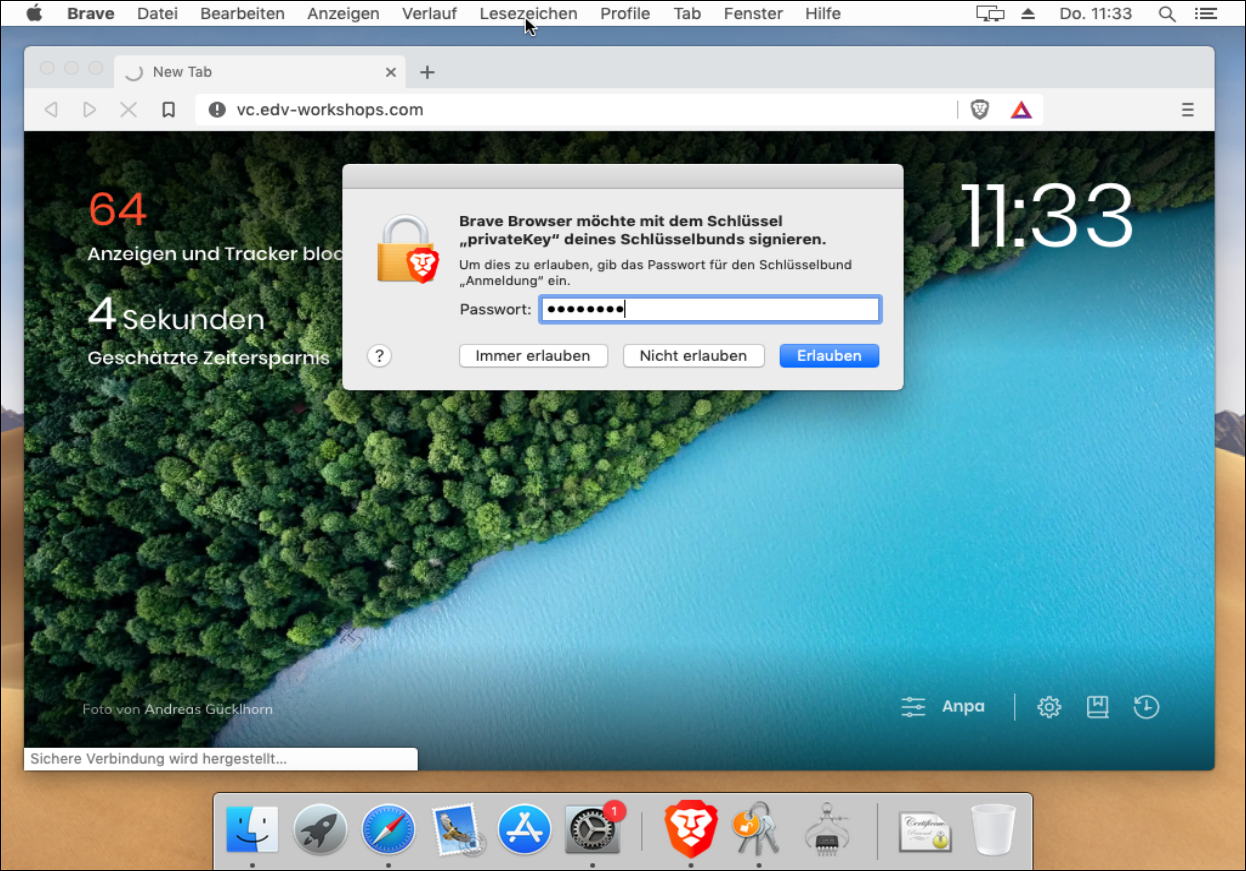
The corresponding page can be called up (in the example the page https://vc.edv-workshops.com). The browser immediately offers you the certificate you have just installed.
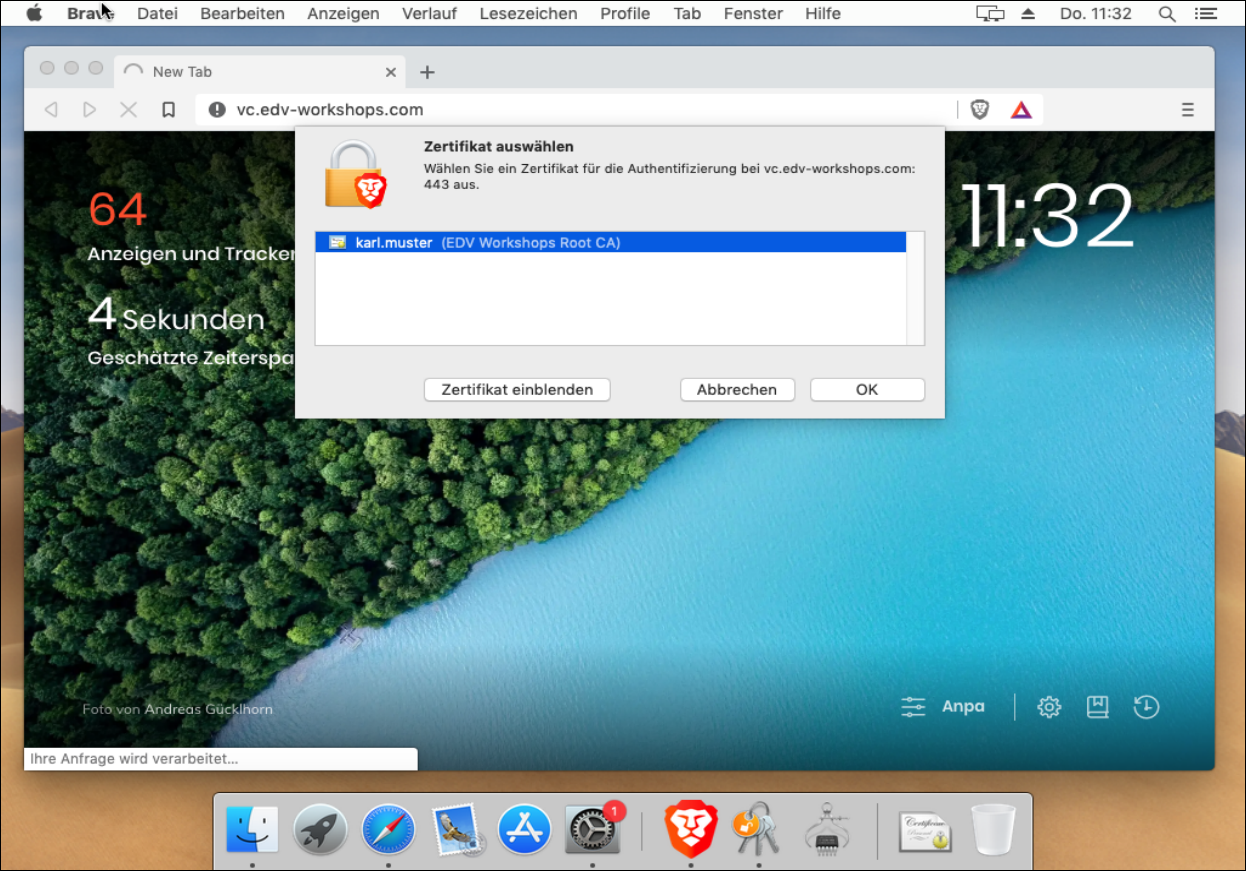
Click on OK.
You must now enter the user's password to authorize the certificate to be used for this site. Clicking on "Always allow" would no longer ask for the user's password in the future. If you click on "Allow" you will be asked for permission every time you use the certificate. I click on "Always allow".
The page is then displayed (the BigBlueButton web conferencing system in the example).
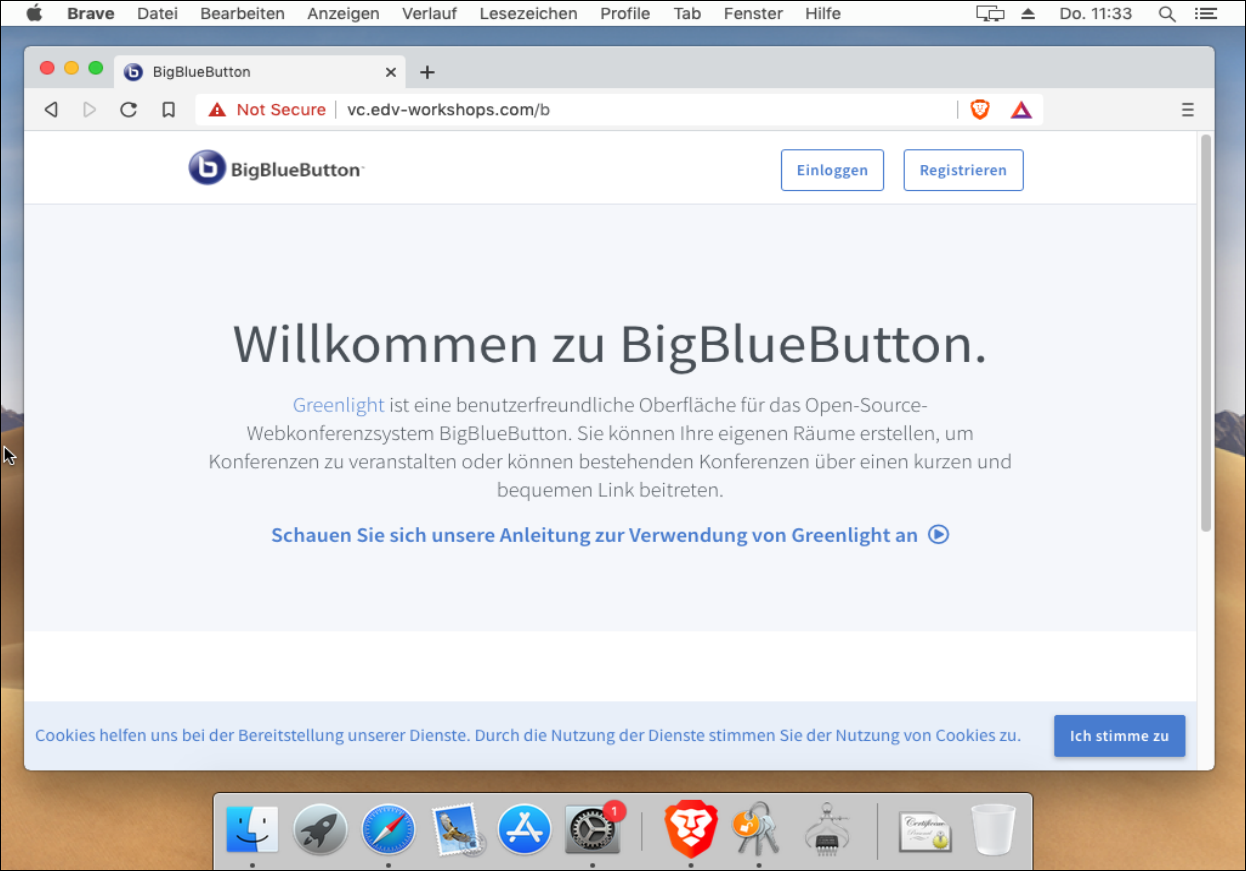
The certificate is now imported. The workshop is finished.
 Deutsch (Deutschland)
  English (United Kingdom)